The Pontiac Fiero
|
|||
|
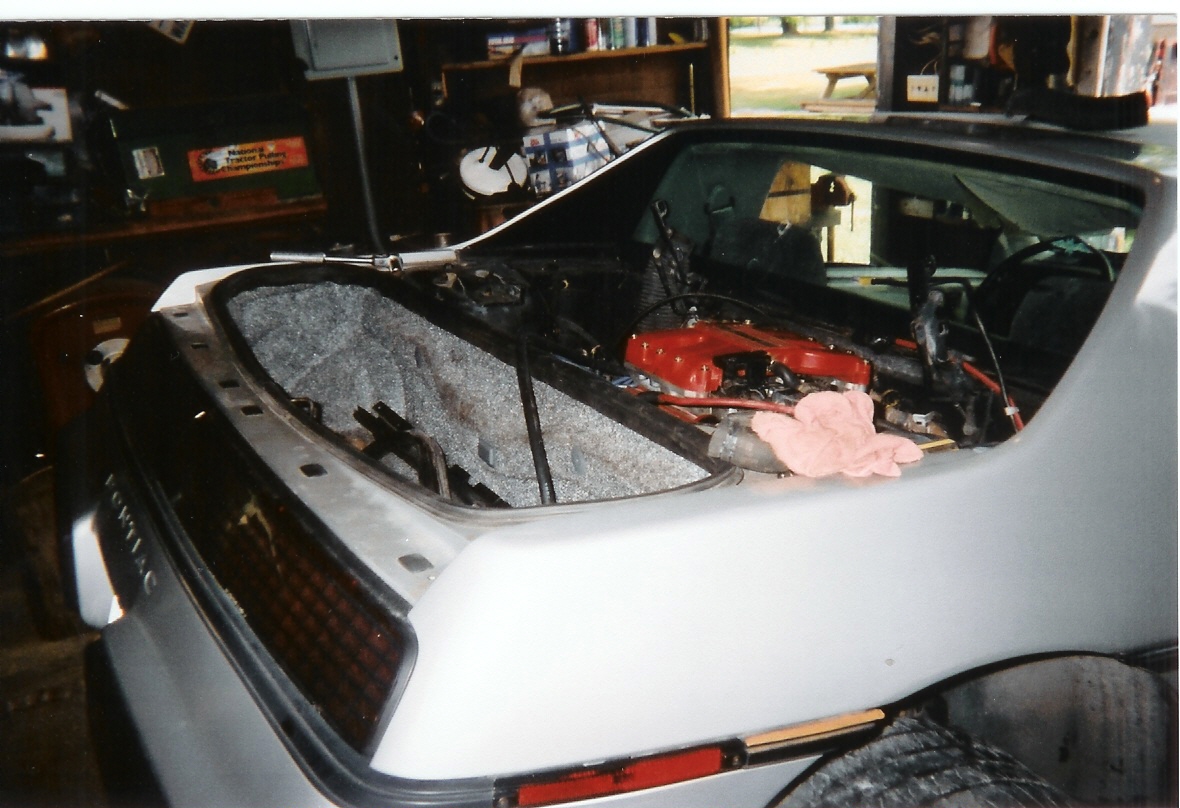
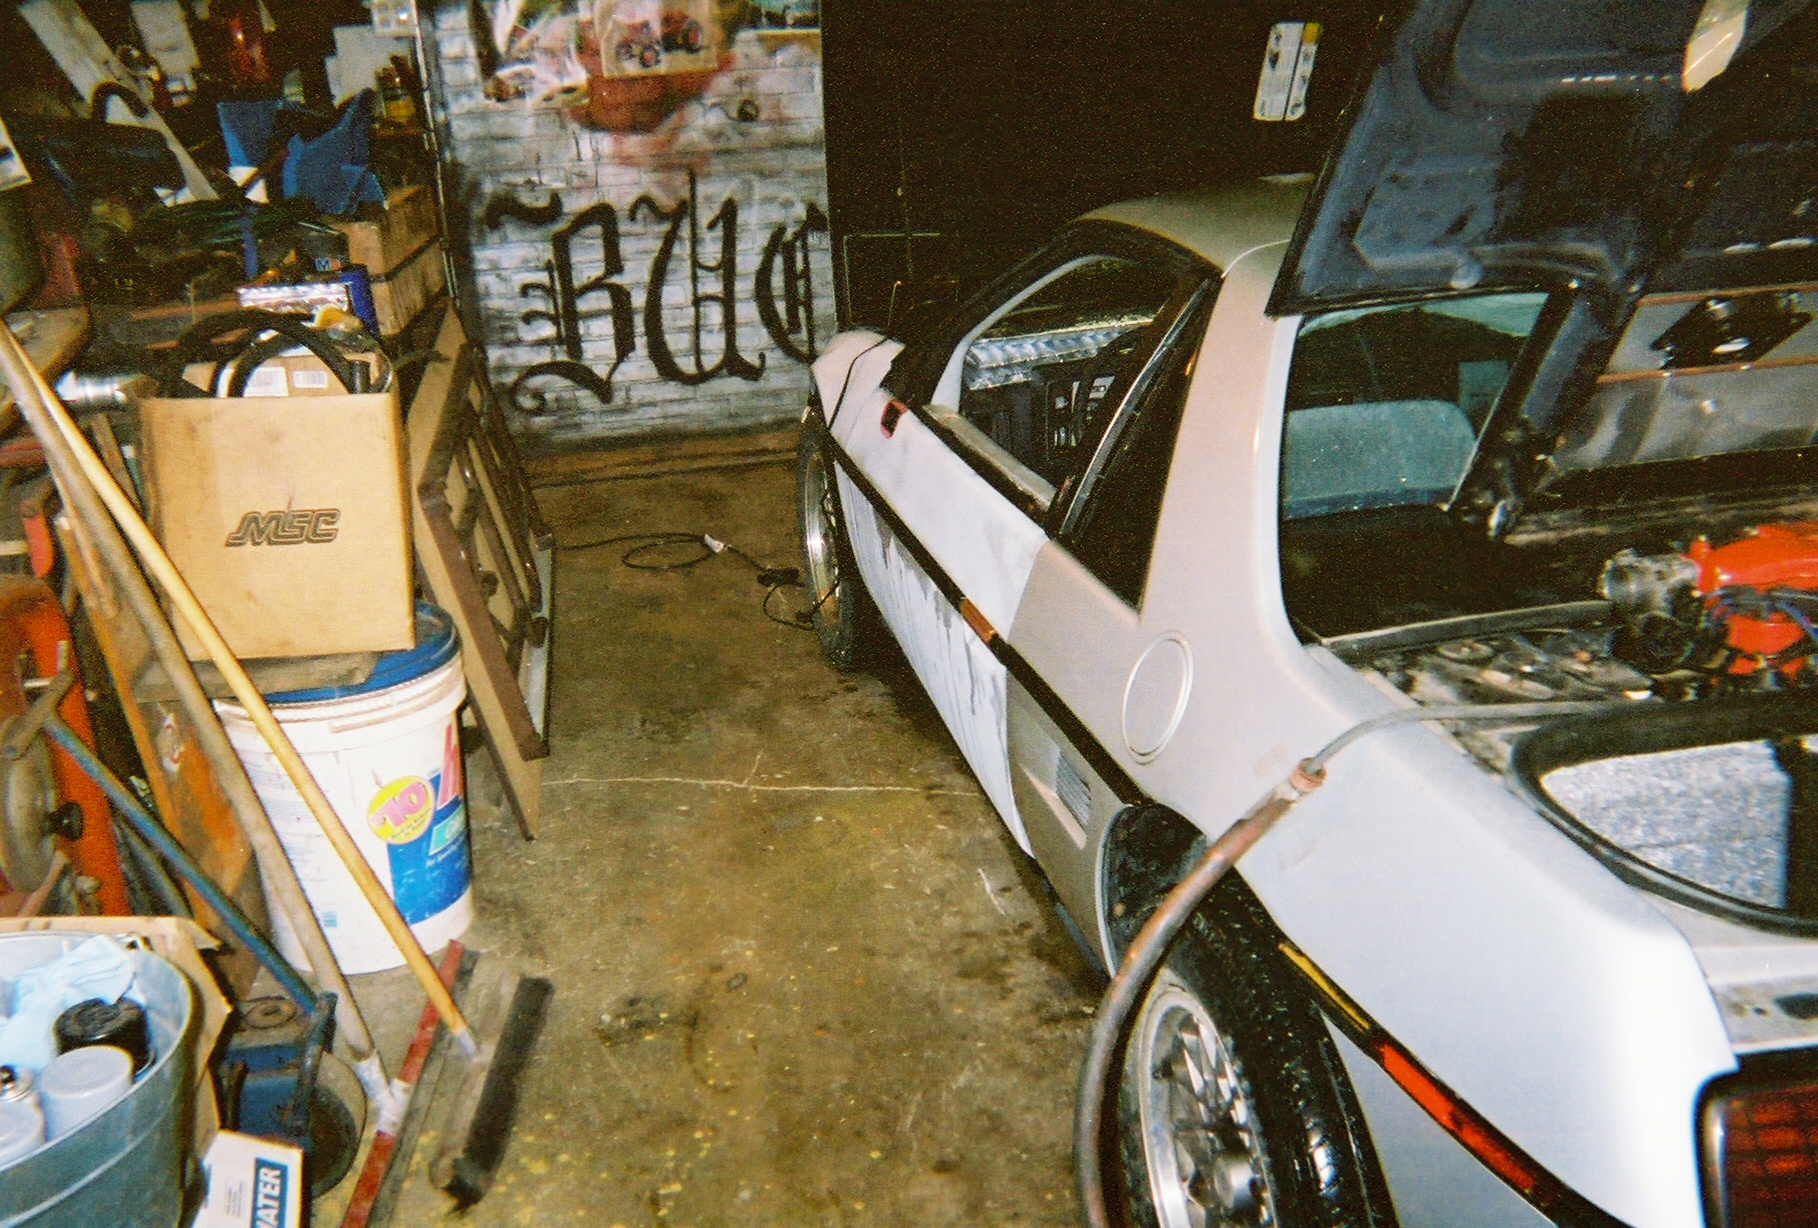
Ok so at this point the car is still at my house. We disconnected everything on the engine cradle and the engine, then lifted the engine and tranny out using an overhead crane. There is now a foot print on the roof of the car. Both the engine and tranny were pulled up out of the top of the car together at the same time. With the motor and tranny out we pushed the car into the drive way, disconnected the subframe and then jacked up the car. Lastly, we removed the subframe with the struts still attached, then left the car there up on blocks. |
|

|
|
|
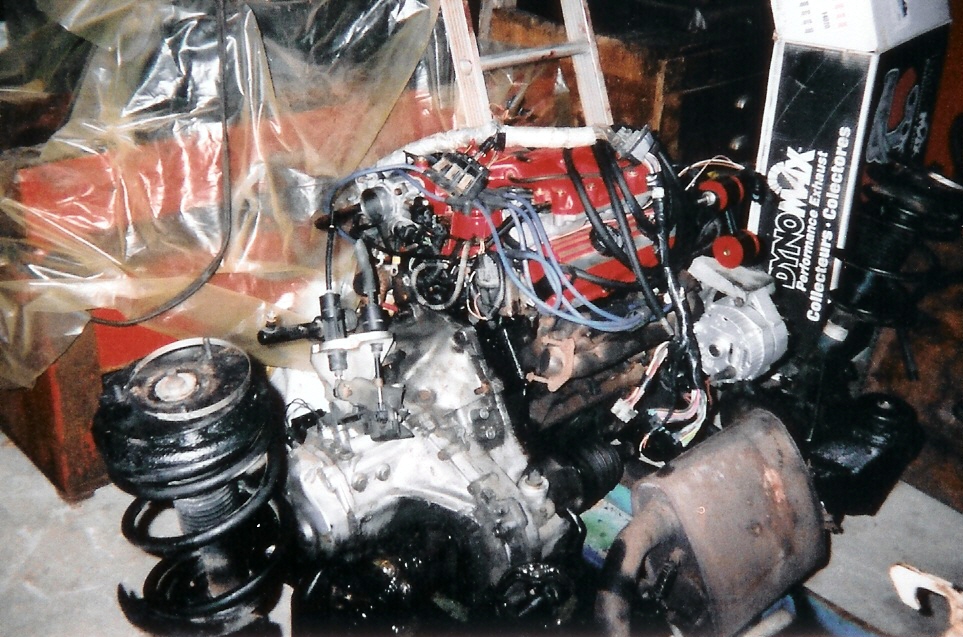
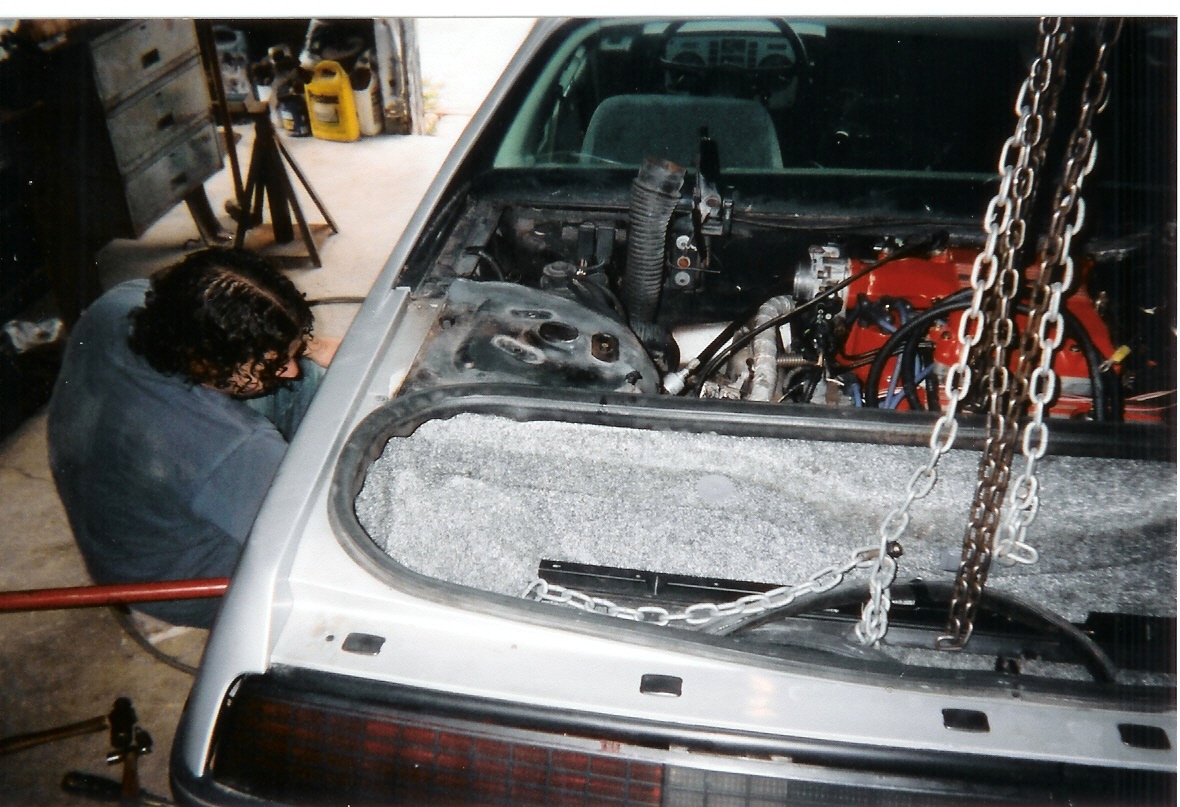
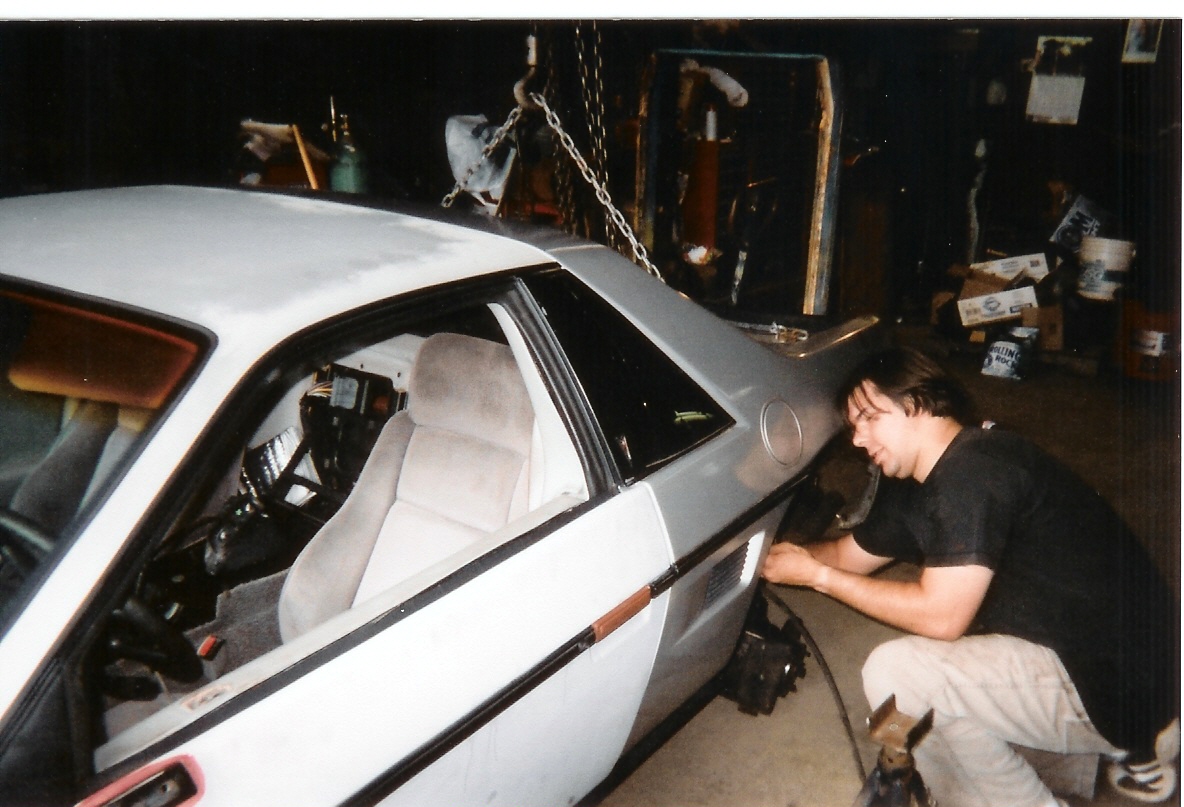
Back in the garage we mated the 5 speed Isuzu manual transmission to the 3.4L engine and then installed the whole thing to back onto the sub frame. We installed a new Flow Master exhaust system, and new brake rotors from the Fiero Store. With everything on the sub frame we were ready to install it back into the Fiero. Since the Fiero has no rear tires at this point, to get the car back into the garage, we lowered the back of the car onto a pallet jack and rolled it into the garage. Then with the overhead crane, we lifted the Fiero by the strut holes. The crane lifted Jason's Fiero right off the ground! We moved the sub frame and engine assembly underneath and lowered the car down on it. When the Fiero got close to the sub frame, we propped the car up with the jack and removed the cranes chain from the strut mounts. We moved the jack around to help line up the bolts holes, striped one nut but, everything is in! |
|||

|
|
|

|
|
Now its the tedious task of hooking everything back up. Wires, radiator hoses, pulleys, air -
conditioning, vacuum houses, wire harness, dog bone, ground wires..... |
|
||
|

|
|
|
|
Problems? well we had some problems.. For starters, the brakes were not just bad, they were gone! We could not get anyone to work on the brakes for us. After explaining to them about the car, they would just say "its sounds like you guys are capable of fixing them yourselves." I think the quote that still lives with us today : "Brake lines are easy". So we had to replace the brake lines ourselves. The entire brake lines, all the way from the master cylinder to the brake hoses... and it was a bastard all the way! Every single thing had to be replaced and nothing would fit together! It felt like it took 2 weeks and 16 trips to Autozone just to get them done. It wasn't "EASY" they just didn't want to do it! Another problem we ran into is that the axles for the automatic are shorter with smaller CV-Joints than the axles for the standard transmission. So we had to buy new ones. $270.00 from buckeye autoparts, but we were lucky. We found some used ones for $40. By far, the biggest problem was in the electrical system. It turns out that Pontiac installed all of the common wires in each and every Fiero. What I am talking about is the main cable that runs from the engine compartment to the fuse box. So whether or not your Fiero came with a standard, automatic, v6 or straight 4, the main wire harness has the wires for it. So, if you want to to change your 4cyl for a V6 well then most of the wires are already there. That is just one problem. The main harness has three of each coloured wire, none of then are labelled. So its a big guessing game! The longest running trouble from this setup was the cold start injector. |
|||
|
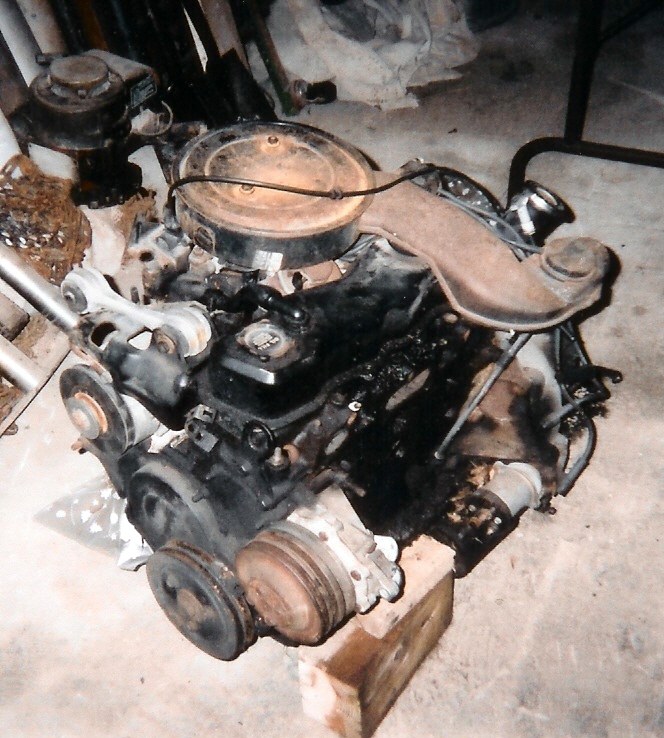
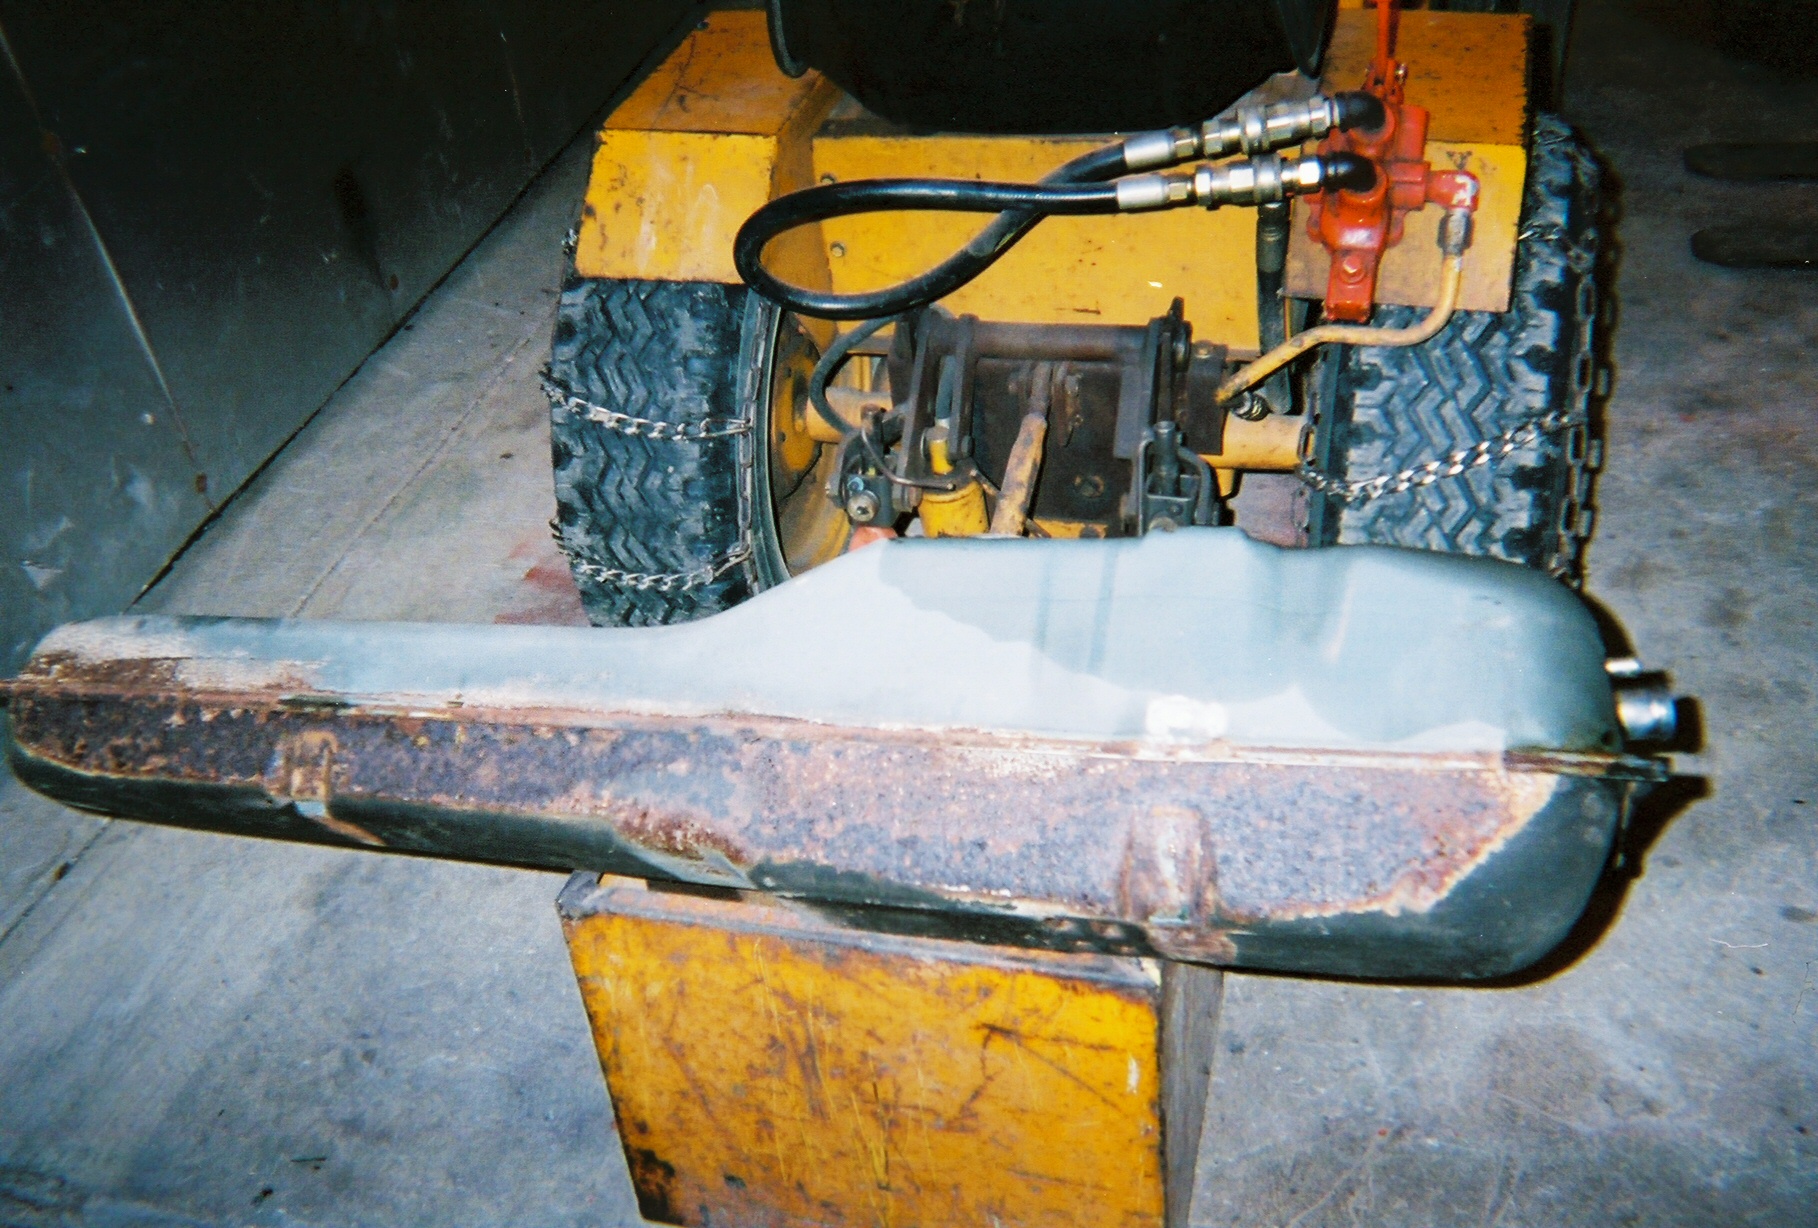
One easy part of the conversion was restoring the gas tank. The gas tank was all rusted underneth and the brackets were shot. New brackets were fabricated out of scrap metal, ground and sanded down the rust, and finally treated the tank with rust converter paint. Just like new and ready to install into the Fiero! |

Click Here to buy This is the paint that converts rust to metal. You can get some through my Amazon Affiliate link |

|
|

|
|
||
Dungeon Studios with like to thank the following for there help in this project:
|
|||
Updates...Since the completion of this project there have been a few alterations to the vehicle:
|
|||
More to come...What's next? I still have some items on the to-do list.
|
|||

Click Here to buy |
|||